
Have you ever experienced the nightmare of edges lifting or seams splitting while installing LVT flooring? This luxurious vinyl flooring, hailed as the "revolutionary material of the 21st century," is taking the global home improvement market by storm with its waterproof features, soundproofing capabilities, and stunning wood-like textures. However, behind its seemingly simple click-lock design lies a millimeter-level precision that can make or break your installation.
In this guide, we¡¯ll show you how to install LVT flooring, helping you bridge the gap between "knowing how to install" and "installing it like a pro!"

Copyright image from: https://www.freepik.com/
Click LVT Flooring Installation
LVT click flooring is one of the most popular and user-friendly types of LVT, perfect for DIY enthusiasts. Its unique interlocking mechanism allows planks to "click" together, avoiding the mess of adhesives. If you're ready to tackle your flooring project, follow this step-by-step LVT flooring installation guide.
Preparing the Subfloor
A smooth and level subfloor is essential. Start by cleaning the surface, removing any dirt, debris, or adhesive residue. If the subfloor has imperfections, consider repairing cracks or holes and leveling uneven areas. This ensures better plank alignment and adherence.
Acclimating the LVT Planks
LVT planks must adjust to the environment where they¡¯ll be installed. Lay the planks flat in the room for 24-48 hours to acclimate them to the temperature and humidity. This simple step prevents future shrinking or warping.
Laying Underlayment (If Required)
Check the manufacturer's guidelines to determine if underlayment is needed for your Click LVT. Underlayment enhances comfort underfoot, provides soundproofing, and makes installation smoother.
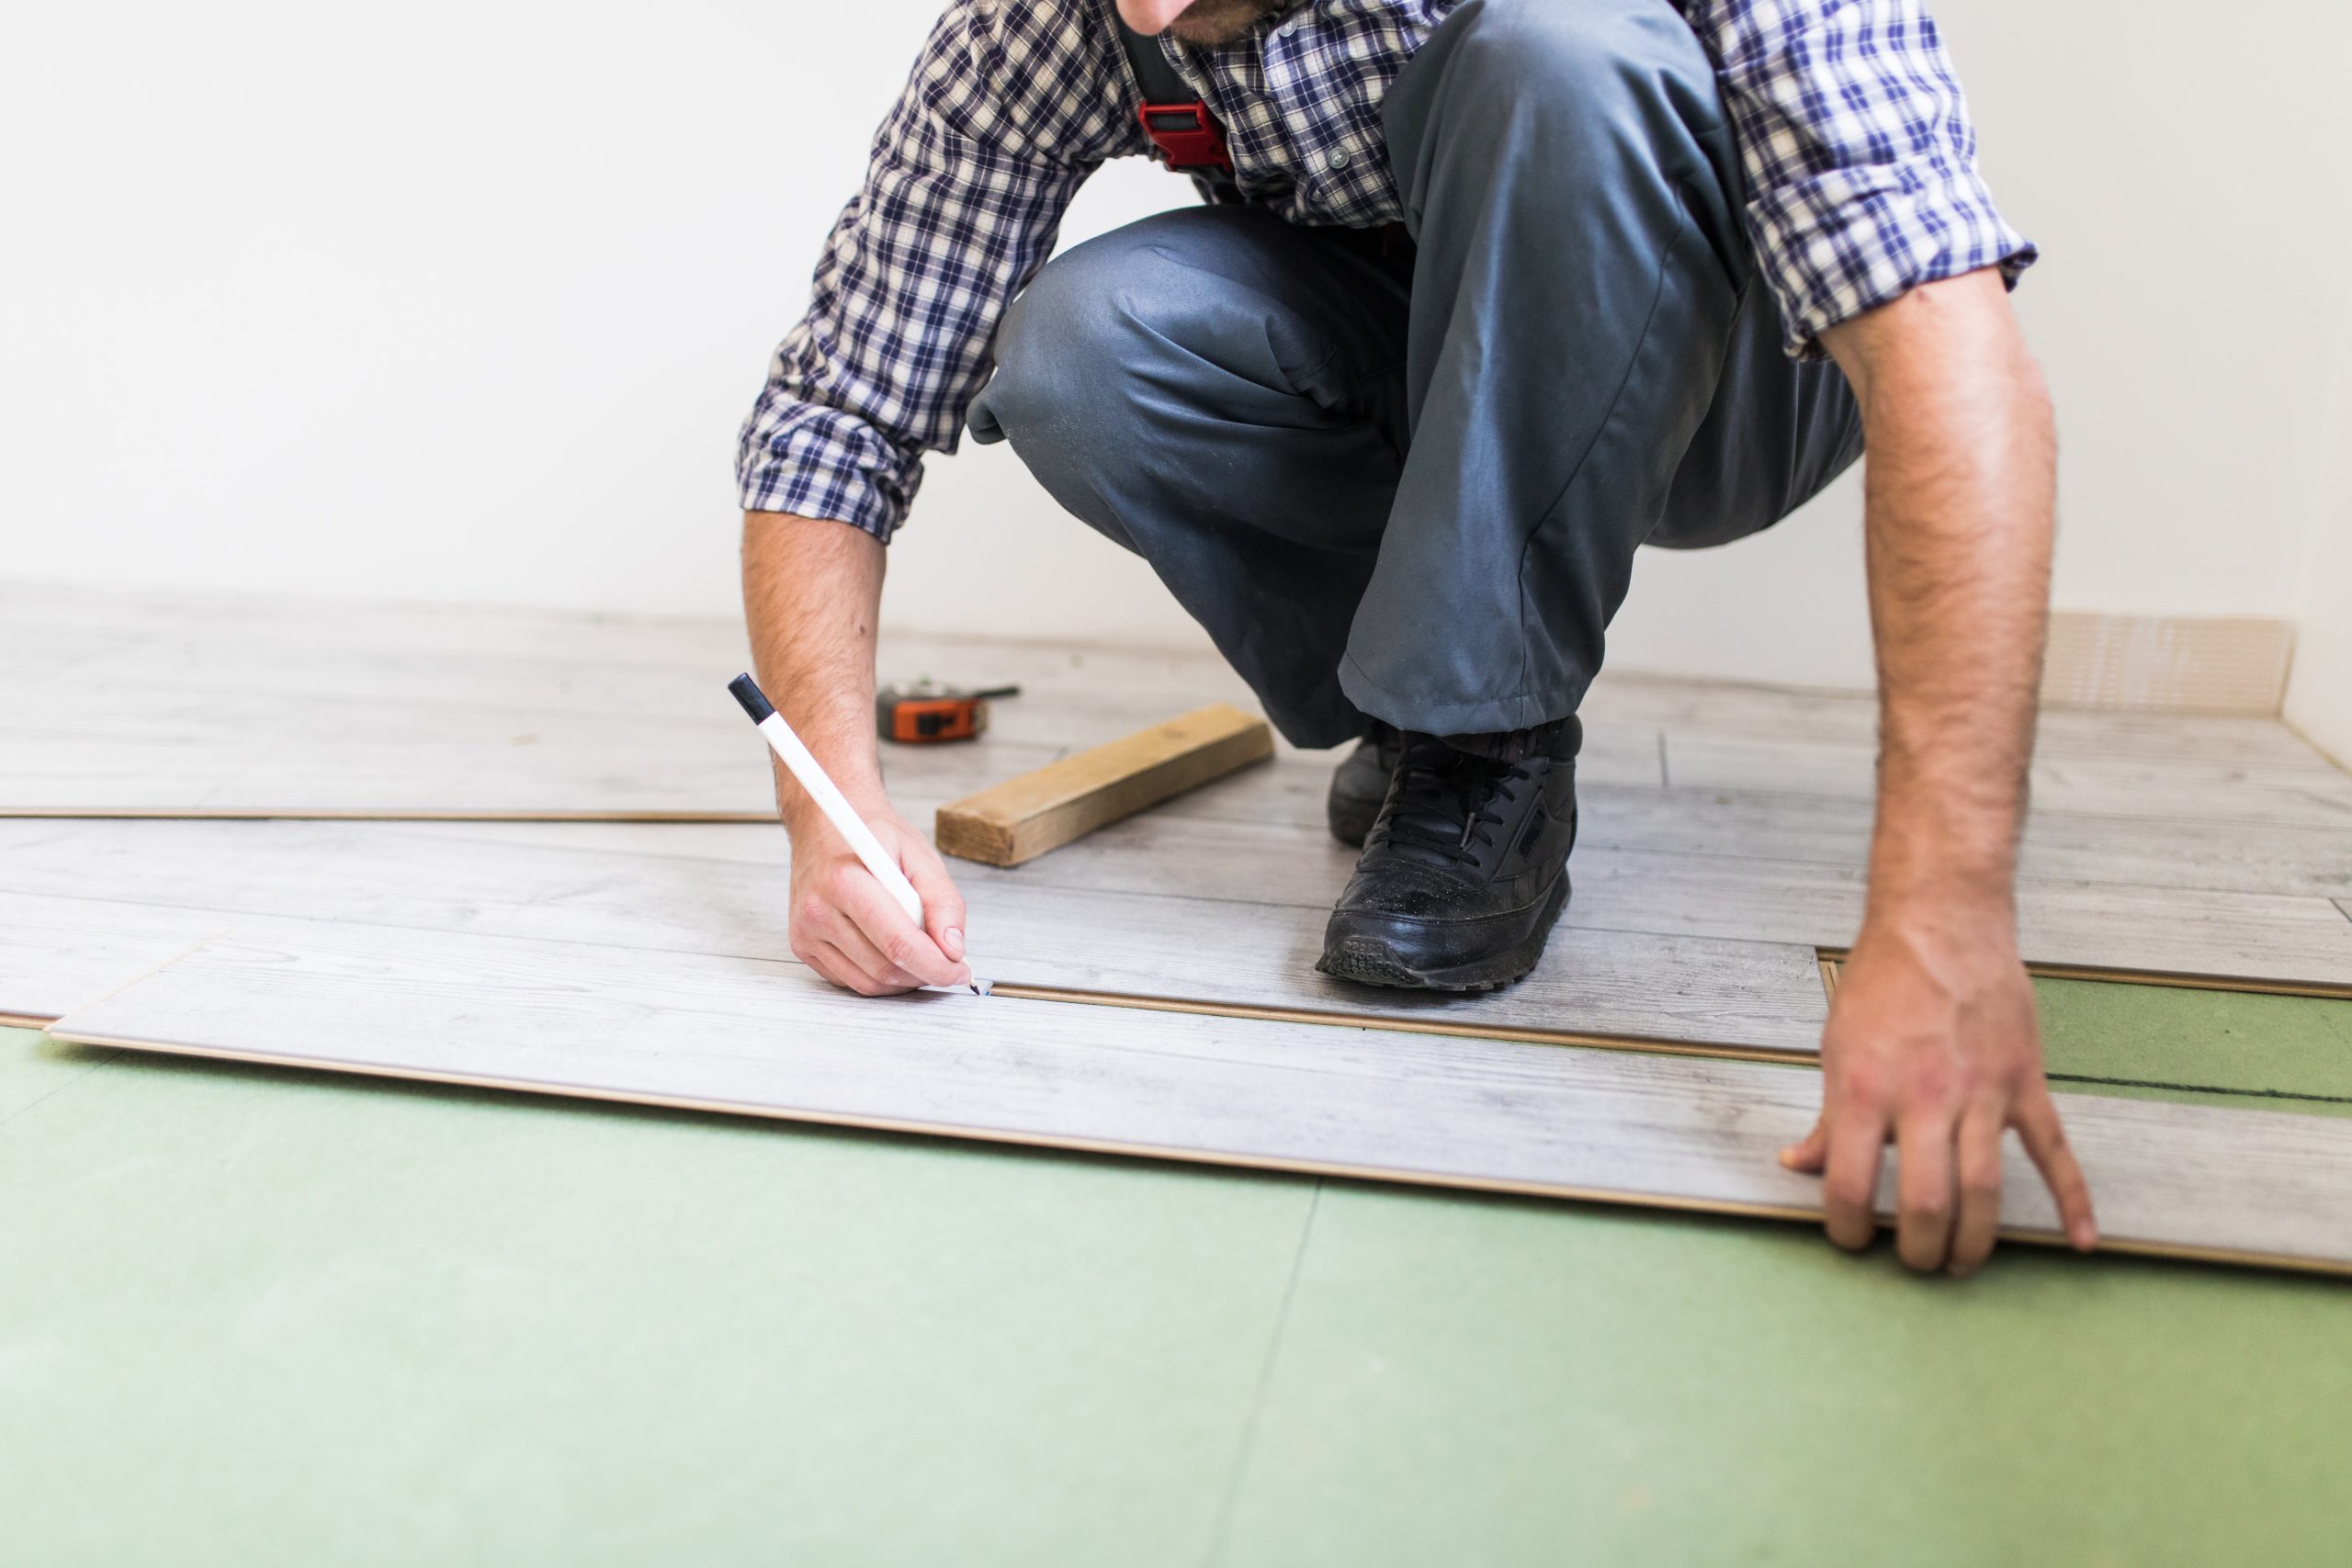
Installing the Planks
Begin installation on one side of the room, working lengthwise.
Angle the plank, fit it into place, and press down gently. The click-lock mechanism will snap together securely.
Repeat this process across the room, staggering the planks for a natural look.
Trimming and Fitting Around Obstacles
Use a utility knife to trim planks to fit corners, edges, and around fixtures. Taking precise measurements ensures clean edges and a professional-looking finish.
Advantages of Click LVT Flooring
lEase of Installation: Ideal for DIY projects.
lNo Adhesive Required: Minimizes mess and simplifies removal if changes are needed later.
lVersatile Application: Compatible with most subfloor types.

Glue-Down LVT Flooring Installation
Glue-Down LVT is a heavier-duty option. While installation requires precision and effort, this method offers unmatched stability and durability.
Preparing the Subfloor
Just like with click LVT flooring installation, the subfloor must be clean, smooth, and level. Depending on the condition of the subfloor, you may need to apply a primer to enhance the adhesive bond.
Applying Adhesive
Follow manufacturer instructions for the adhesive. Using a trowel, spread the adhesive evenly across a manageable section of the floor. Work in small areas to prevent the adhesive from drying out before plank application.
Laying the Planks
Carefully place each plank onto the adhesive, ensuring proper alignment for a smooth visual effect. Be mindful of spacing¡ªtight seams enhance both appearance and water resistance.
Using a Roller
Once the planks are laid, use a heavy roller to press them firmly against the adhesive. This step removes air bubbles and ensures secure bonding.
Allowing the Adhesive to Cure
Resist the urge to walk or place furniture on the floor until the adhesive is fully cured. Curing time typically ranges from 24 to 48 hours, but follow the manufacturer¡¯s instructions for the best results.
Benefits of Glue-Down LVT Flooring
Superior Stability: Perfect for heavy foot traffic and commercial spaces.
Long-Term Durability: Offers excellent wear resistance.
Professional-Grade Finish: Produces a perfectly smooth and polished surface.

Boyu LVT Flooring Production Line
Boyu LVT Flooring Production Line provides cutting-edge solutions for producing high-quality LVT floors. Our machinery leverages advanced twin-screw extrusion technology to ensure precision, efficiency, and top-tier performance. With a certificate from CE and the option to fully customize settings, our production lines are trusted worldwide for unmatched reliability.
Why LVT Flooring Installation Matters
Both Click and Glue-Down LVT floors offer outstanding benefits, but proper installation is critical to enjoying their full potential. While Click LVT is excellent for ease of use and DIY projects, Glue-Down LVT stands out for its durability in high-traffic settings. Following the right LVT flooring installation techniques will protect your investment for years to come and help your flooring perform at its best.
Interested in learning more about LVT flooring or need expert advice? Bookmark and share this guide to help others make informed decisions about our flooring projects!